미니게임 제작 05
앞으로는 간단한 게임들을 만들어보며 추가적인 기능에 대해 공부를 해보려한다. 간단한 것부터 만들기 시작하여 만든 결과물을 레퍼런스 하여 덩치를 조금씩 키워나가는 과정을 밟아보자. 지식이 많지 않아 부족할 수 있지만, 하는데까지 해보겠다.
EnemySpawner를 만든 목적은 랜덤한 위치에 적이 나타나게 하기 위함이다. 그렇다면 이제 Enemy 오브젝트를 만들어 플레이어를 향해 이동하게끔 만들어보겠다. 그리고 프리팹화 시켜 랜덤하게 생성하게 할 것이다.
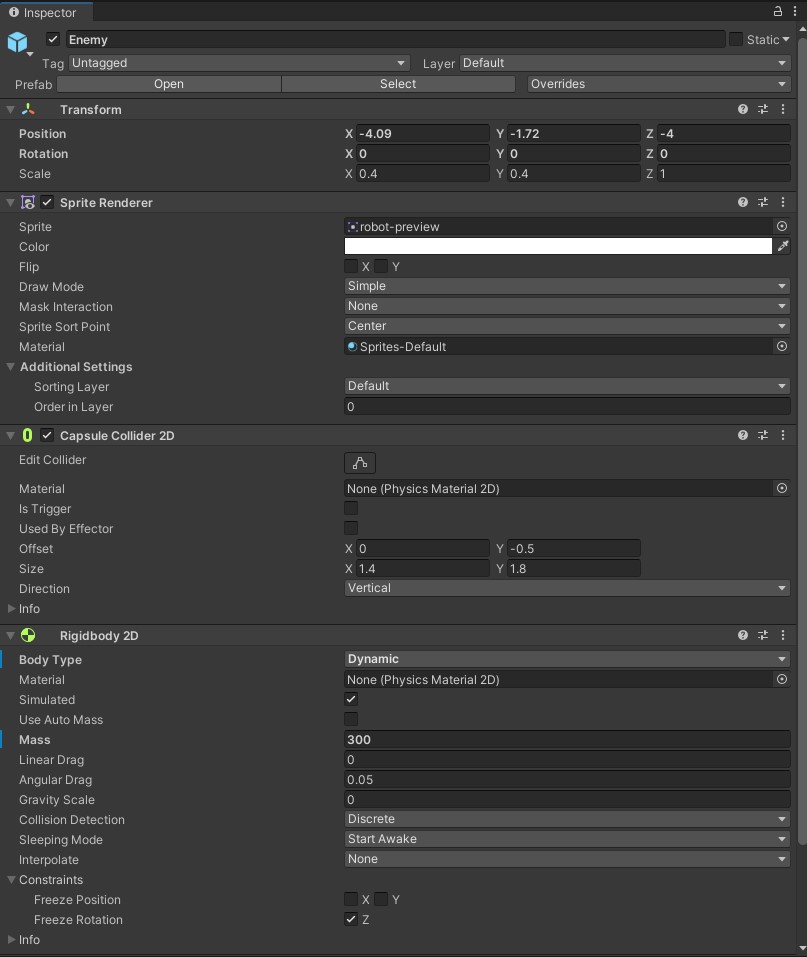
Enemy 오브젝트의 inspactor창은 다음과 같다. 몬스터가 플레이어에게 쉽사리 밀려나면 안되므로 무게를 300으로 설정했다.
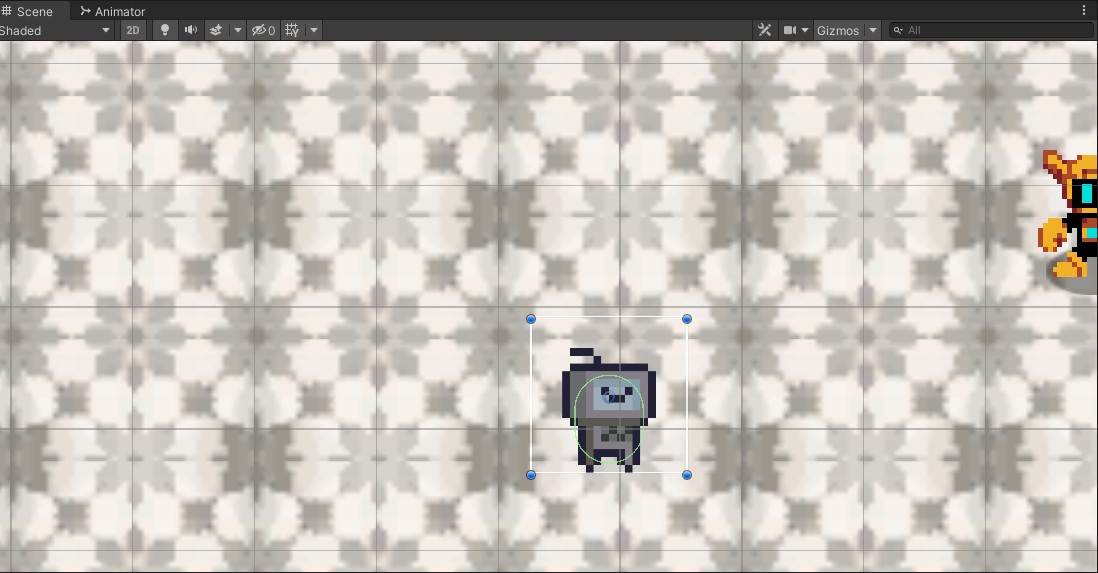
Enemy 오브젝트의 스프라이트는 다음과 같다. 이 이미지는 오픈소스였던 것으로 기억한다.
이제 오브젝트를 만들었으니, 플레이어에게 가까이 다가가도록 스크립트를 짜보겠다.
Enemy 스크립트를 생성했다.
로직을 생각해보자.
-
플레이어 위치를 찾는다.
-
자신으로부터 플레이어로의 벡터를 구한다.
-
일정한 속력으로 플레이어에게 이동한다.
여기에 추가하여, 플레이어로의 방향에 따라 스프라이트를 좌우반전 시켜주면 될 것 같다. idle 애니메이션 정도도 추가하면 조금 더 느낌이 날 듯 하다.
플레이어 위치는 TransForm을 통해 받아올 수 있을 것이다.
벡터를 구하는 부분은 토막 정보 글에 있던, 벡터의 차를 이용하여 Enemy 오브젝트로부터 플레이어 위치로의 벡터를 구하면 될 것이다.
속력은 public으로 하여 Enemy가 여러 종류가 있을 경우 각 Enemy에 따라 속도를 다르게 해보자.
벡터의 차, 플레이어의 위치 - Enemy의 위치 가 Enemy로부터 플레이어까지 거리와 방향 벡터가 된다.
Enemy.cs
using System.Collections;
using System.Collections.Generic;
using UnityEngine;

public class Enemy : MonoBehaviour
{

    // 플레이어 위치
    public Transform playerTransform;
    // Enemy 위치
    Transform enemyTransform;
    Rigidbody2D enemyRigidbody;
    public int speed;
    void Start()
    {
        enemyTransform = GetComponent<Transform>();
        enemyRigidbody = GetComponent<Rigidbody2D>();
    }


    void Update()
    {
        MoveSet();
    }

    Vector2 vec;

    void FixedUpdate()
    {
        Move();
    }
    void MoveSet()
    {
        // 플레이어로의 방향 벡터 구하기
        vec = playerTransform.position - enemyTransform.position;

        // 벡터를 단위벡터화 시킨다.
        vec.Normalize();
    }

    void Move()
    {
        enemyRigidbody.velocity = vec * speed;
    }
}
- line 9 ~ 13 : 변수 생성 부분
- 9 : 플레이어 TransForm를 저장할 변수
- 11 : Enemy TransForm을 저장할 변수
- 12 : Enemy RigidBody를 저장
- 13 : speed 설정
- 14 : Vector 값 저장할 변수
- line 15 ~ 19 : 초기화 부분
- enemyTransform과 enemyRigidbody를 GetComponent를 통해 초기화시켜준다.
-
line 30 ~ 37 : 플레이어로의 방향벡터를 구해서 단위벡터화시키는 메서드
- line 39~42 : 위에서 구한 벡터에 Speed를 곱해 이동시키는 메서드
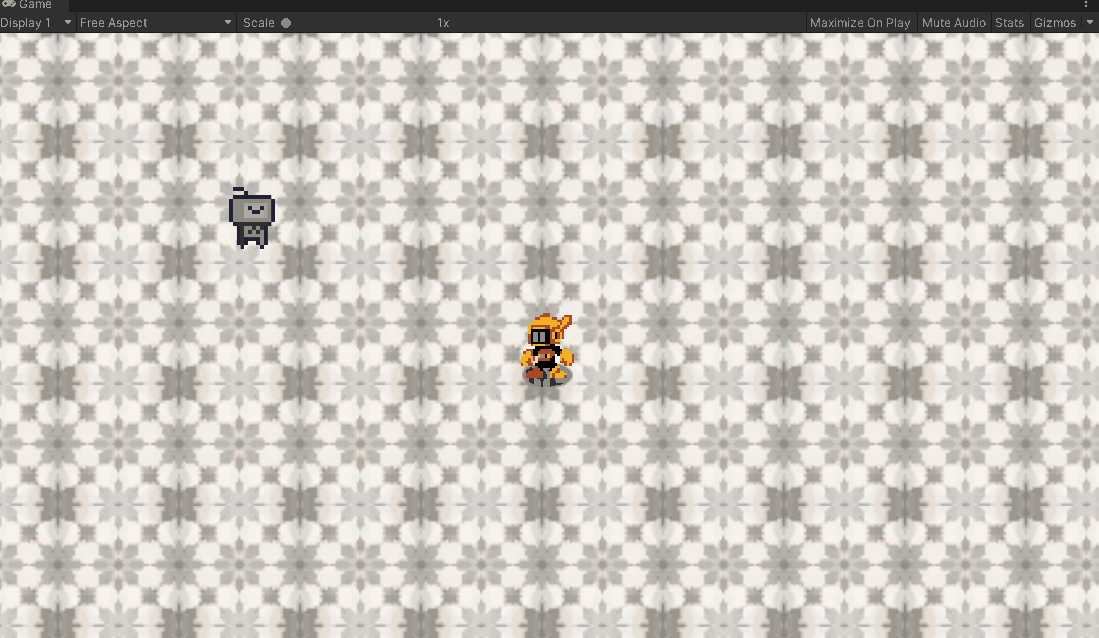
이제 Enemy 오브젝트에 Player TransForm을 할당해주면 된다. 하지만 여기서 문제가 생겼다. Enemy는 Prefab으로 저장했고, 에셋화 되지 않은 Player 게임 오브젝트는 할당해줄 수 없었다. 일단 테스트는 해봐야 했기 때문에 게임을 실행시킨 후 생성된 clone 오브젝트에 Player 오브젝트를 넣어봤다.
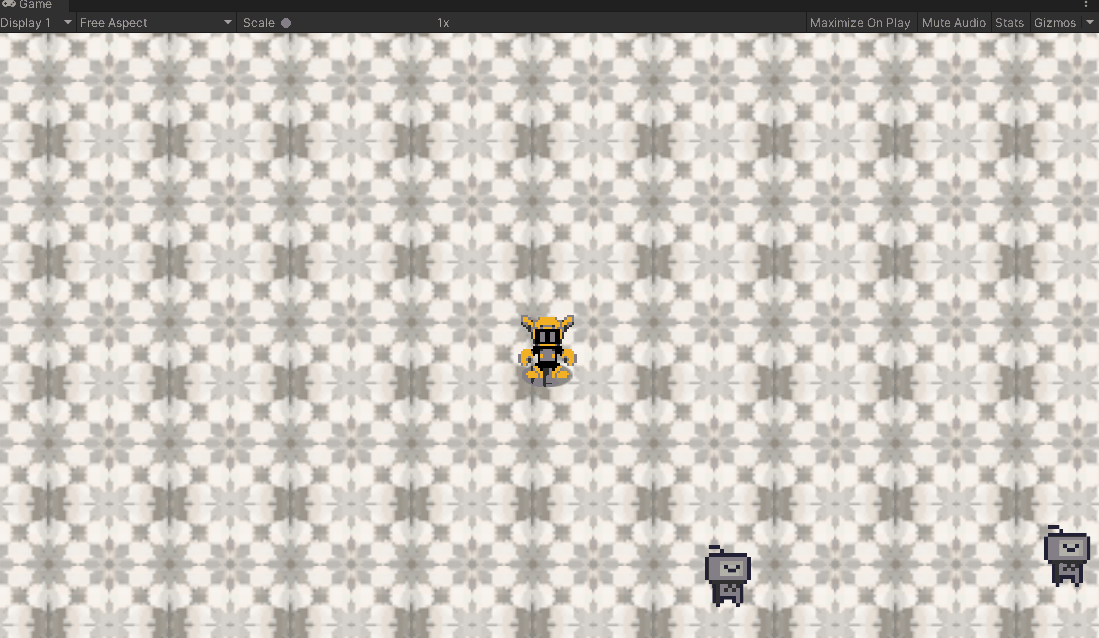
일단 플레이어를 추적하는 것은 잘 되는 모양이다. 주변에 있는 다른 오브젝트가 움직이지 않는 것이 보이듯이, 해당 오브젝트들이 생성되자마자 플레이어 오브젝트의 위치를 찾을 수 있게 해야할 것 같다.
처음에는 Find를 통해 부여해줄까 생각했지만, 자원소모가 만만치 않을 것 같았다. 그렇다면 EnemySpawner에서 부여를 해서 생성할 수는 없을까? EnemySpawner는 Player의 TransForm 컴포넌트를 이미 가지고 있으니 말이다.
찾은 방법은 다음과 같다.
Enemy.cs
// 초기화 메서드
public void init(Transform playerTransform)
{
   this.playerTransform = playerTransform;
}
Enemy 스크립트에는 다음과 같이 초기화 메서드를 생성한다.
EnemySpawner.cs
void Spawn()
{
    Vector2 spawnPos = GetRandomPoint(playerTransform.position, maxDist);
    GameObject selectedEnemy = enemys[Random.Range(0, enemys.Length)];
    GameObject enemy = Instantiate(selectedEnemy, spawnPos, Quaternion.identity);
    Enemy es = enemy.GetComponent<Enemy>();
    es.init(playerTransform);
}
EnemySpawner에는 다음과 같이 Enemy 스크립트를 읽어와서, EnemySpawner가 가지고있는 playerTransform를 init 메서드를 통해 넘겨주도록 한다.
생성되자마자 플레이어를 잘 추적해서 따라오는 모습이다. 이제 플레이어의 위치에 따라서 Enemy가 바라보는 방향을 바꿔보자.
// 플레이어 위치
public Transform playerTransform;
// Enemy 위치
Transform enemyTransform;
Rigidbody2D enemyRigidbody;
SpriteRenderer rend;
public float speed = 3f;
Vector2 vec;
bool rotation;
선언부는 2개의 변수가 추가되었다. 스프라이트를 좌우반전 시킬 SpriteRenderer 변수, 그리고 플레이어의 위치에 따라 바뀔 bool 변수 rotation이다.
void MoveSet()
{
    // 플레이어로의 방향 벡터 구하기
    vec = playerTransform.position - enemyTransform.position;
    if (vec.x > 0)
    {
        rotation = true;
    }
    else
    {
        rotation = false;
    }
    // 벡터를 단위벡터화 시킨다.
    vec.Normalize();
}
MoveSet 메서드에서 변경된 사항이다. vec의 x가 바라보는 방향에 따라서 rotation의 값을 조정한다.
void Move()
{
    enemyRigidbody.velocity = vec * speed;
    if (!rotation)
    {
        rend.flipX = true;
    }
    else
    {
        rend.flipX = false;
    }
}
Move 메서드에서 변경된 부분이다. rotation bool 변수를 읽어와 그 상태에 따라 flipX를 활성화/비활성화 시킨다.
Enemy.cs
using System.Collections;
using System.Collections.Generic;
using UnityEngine;

public class Enemy : MonoBehaviour
{


    // 플레이어 위치
    public Transform playerTransform;
    // Enemy 위치
    Transform enemyTransform;
    Rigidbody2D enemyRigidbody;
    SpriteRenderer rend;
    public float speed = 3f;
    Vector2 vec;
    bool rotation;
    // 초기화 메서드
    public void init(Transform playerTransform)
    {
        this.playerTransform = playerTransform;
    }

    void Start()
    {
        enemyTransform = GetComponent<Transform>();
        enemyRigidbody = GetComponent<Rigidbody2D>();
        rend = GetComponent<SpriteRenderer>();
    }

    void Update()
    {
        MoveSet();
    }

    void FixedUpdate()
    {
        Move();
    }
    void MoveSet()
    {
        // 플레이어로의 방향 벡터 구하기
        vec = playerTransform.position - enemyTransform.position;
        if (vec.x > 0)
        {
            rotation = true;
        }
        else
        {
            rotation = false;
        }
        // 벡터를 단위벡터화 시킨다.
        vec.Normalize();
    }

    void Move()
    {
        enemyRigidbody.velocity = vec * speed;
        if (!rotation)
        {
            rend.flipX = true;
        }
        else
        {
            rend.flipX = false;
        }
    }
}
변경된 전체 소스코드이다.
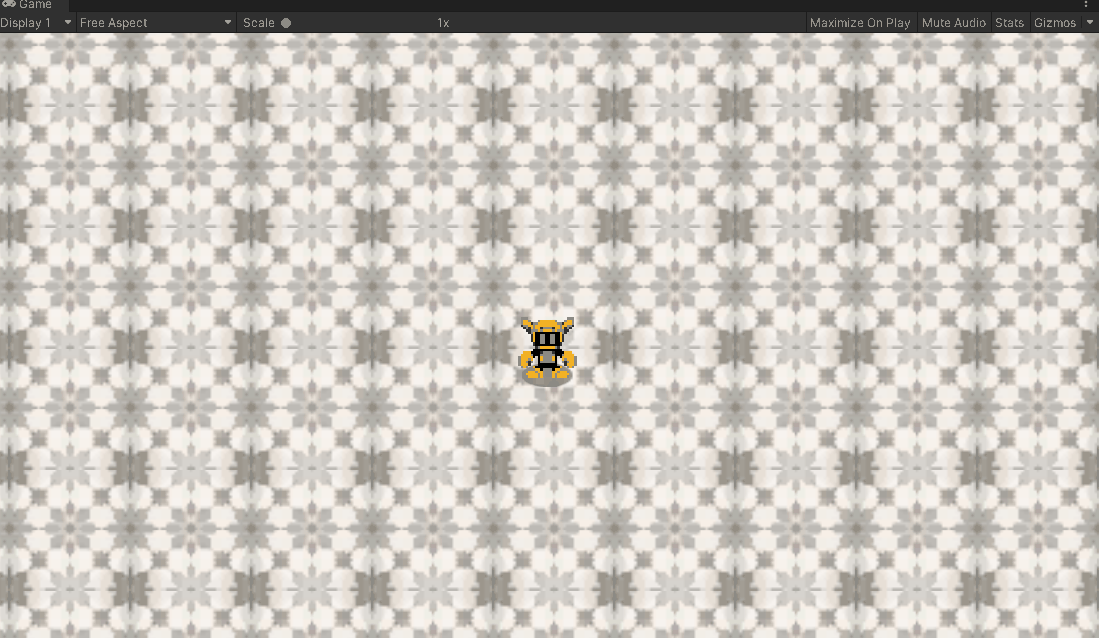
플레이어의 방향으로 Enemy이 바라보는 방향이 바뀌는 것을 확인할 수 있다.
그런데 또 문제가 생겼다. 몬스터끼리 오브젝트가 겹쳐지는 현상이다.
다음에는 위의 현상을 해결하고, Enemy에 간단한 애니메이션을 추가해보자.